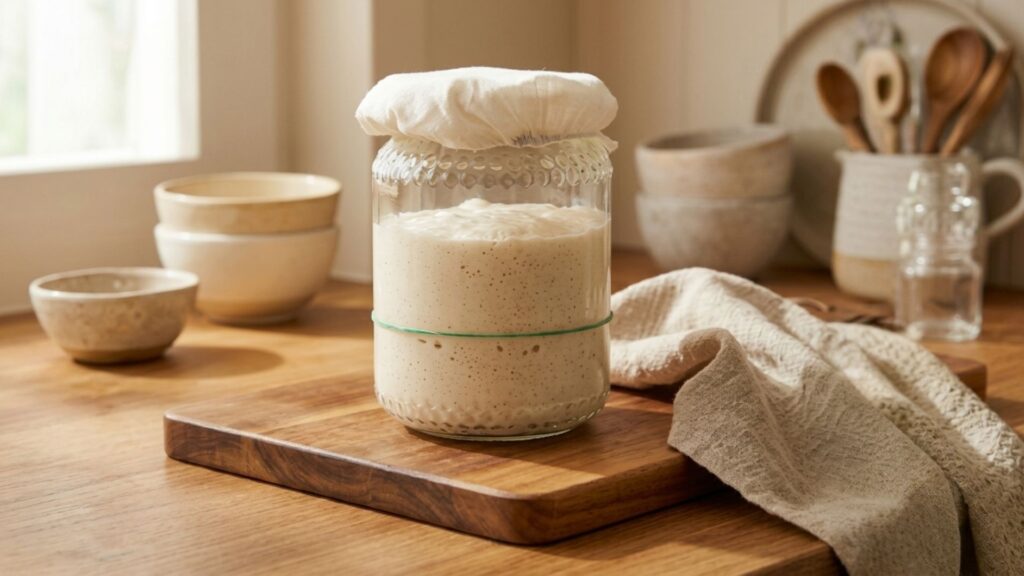
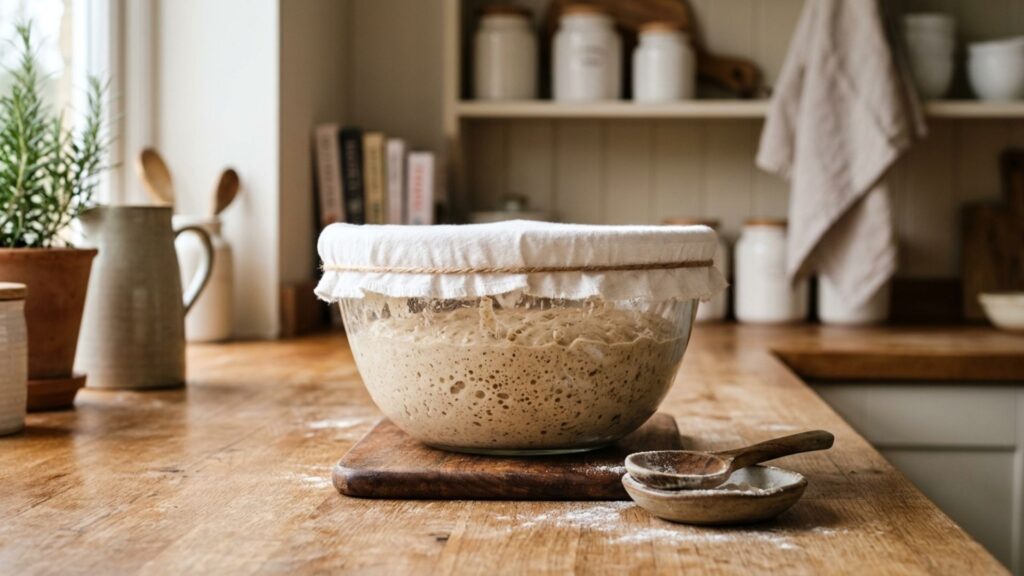
If there's one question I get more than any other, it's some version of "how long do I let my dough sit?" I get why people want a number, it feels safe. But fermentation doesn't run on a stopwatch. It runs on temperature, your flour, your starter, and a handful of small kitchen variables that shift from one day to the next.
This sourdough fermentation guide is the reference I wish I had when I started: what's happening at each stage, from feeding your starter to pulling a cold-proofed loaf out of the fridge, and what to look for along the way instead of a number on a timer.
This post contains an affiliate link. If you buy through it, I may earn a small commission at no cost to you.
In This Guide
What's Happening When You Feed Your Starter
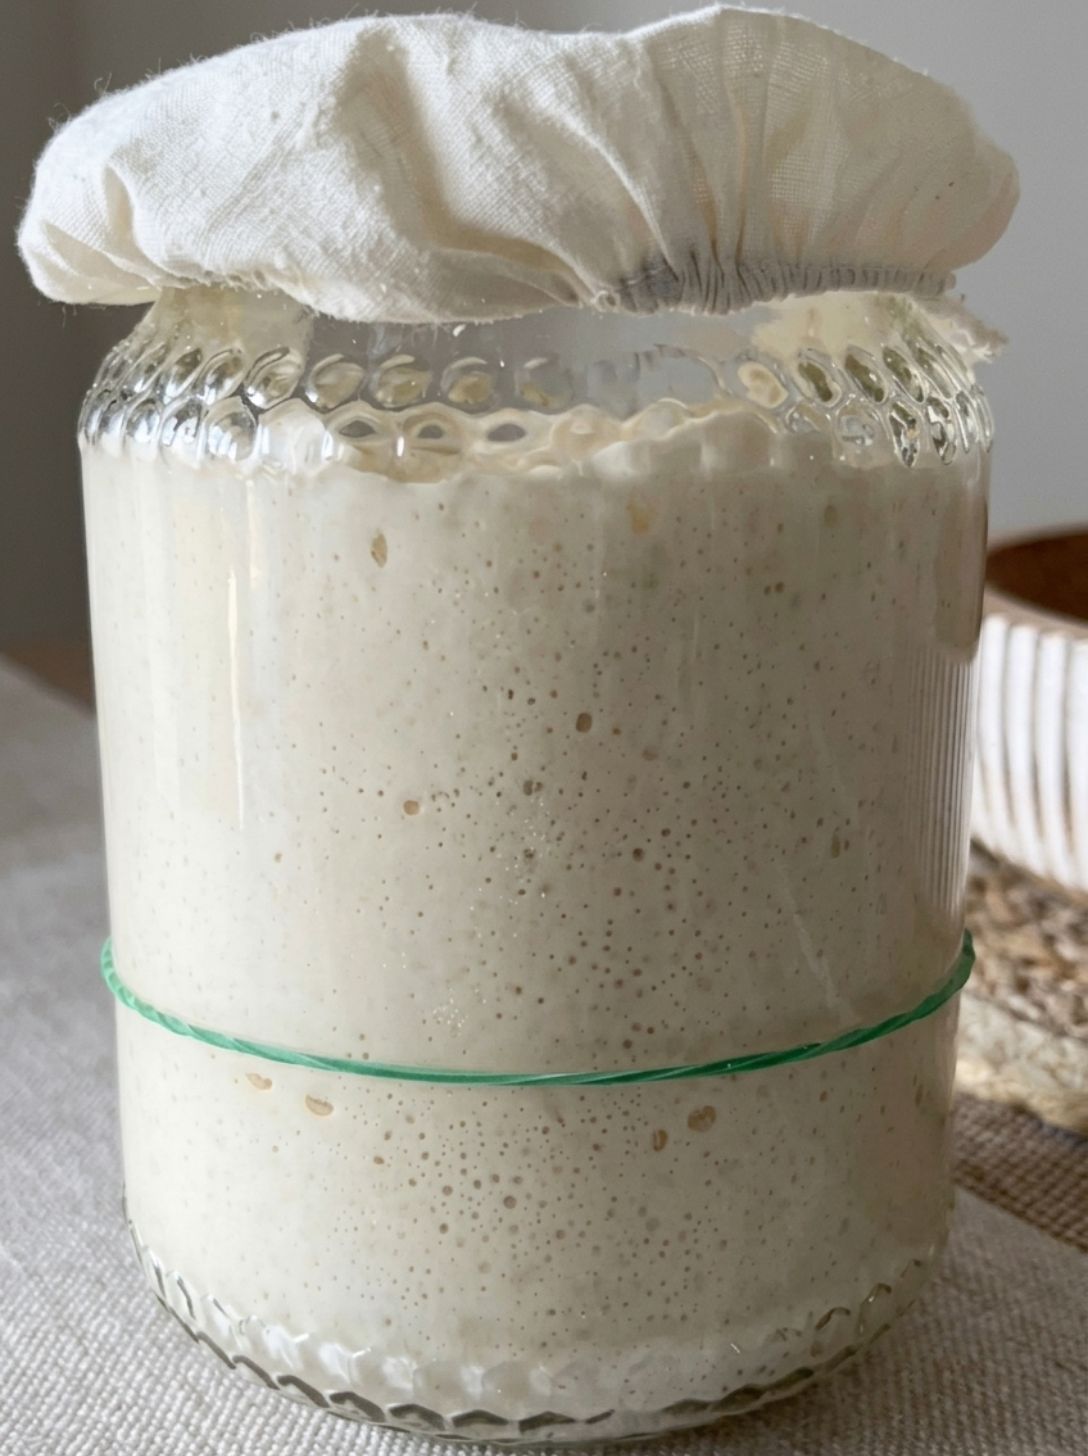
Your starter is a live culture of wild yeast and bacteria. Feeding it gives that culture fresh food: it eats through the flour, produces gas, rises, then slowly runs out of food and collapses again.
Temperature controls the pace. In warmer months mine peaks faster and needs feeding more often, in a cold kitchen it stretches out. Learning your own starter's rhythm matters more than copying someone else's schedule.
Signs your starter is ready to bake with
- A clean, pleasant smell, mildly yeasty and a little fruity
- Bubbles throughout the jar, not just sitting on top
- Rises tall and holds its height for a while before slowly collapsing
- Recovers well after each feed, without acting sluggish
I go deeper on each of these signs in 6 Signs of a Healthy Sourdough Starter, worth a read if you're not sure yours is ready yet.
Bulk Fermentation: Where the Structure Gets Built
Bulk fermentation is the long rise right after mixing, before you shape anything. Two things happen at once: the yeast produces gas that will become your crumb, and the gluten network builds the strength to hold onto that gas.
Gluten builds two ways: through active handling like folds and stretches, and through rest. A dough that tears at first mix can turn into a clean windowpane a couple hours later without a single extra fold, just from sitting and relaxing.
A lot of my recipes hold the salt back for the first 20 to 40 minutes, mixing just flour, water, and starter first. Salt slows fermentation, so the dough gets a head start before it goes in.
How to tell bulk fermentation is done
Start by touching it: dough no longer clings to your fingers the way it did at the start. Then look for these four visual cues.
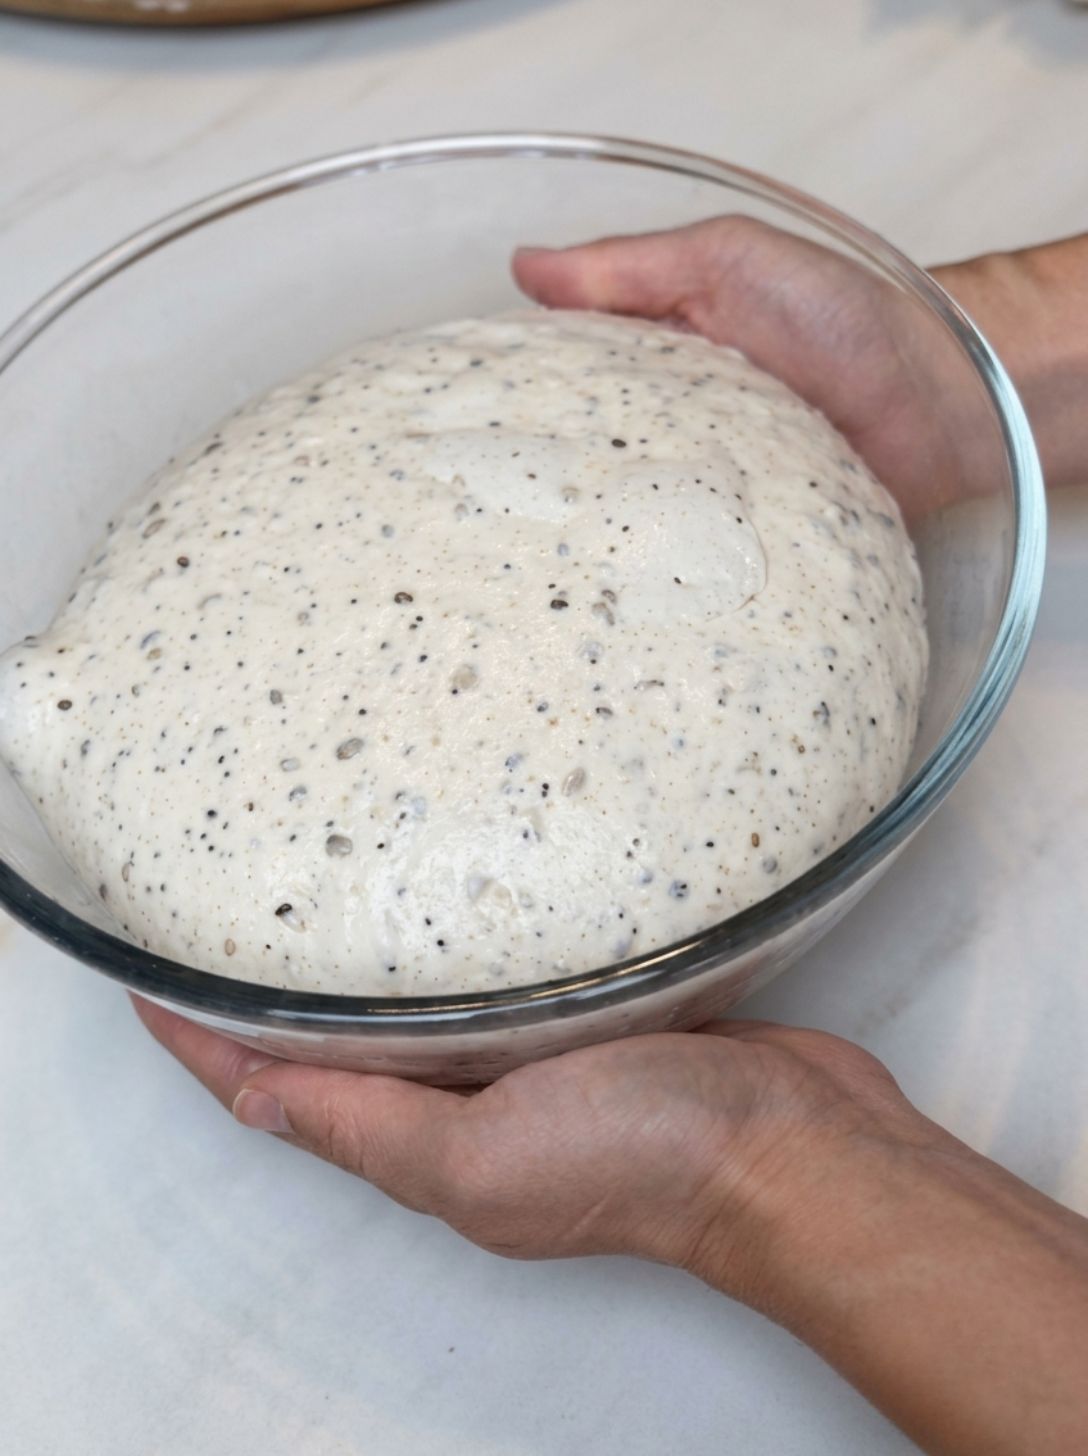
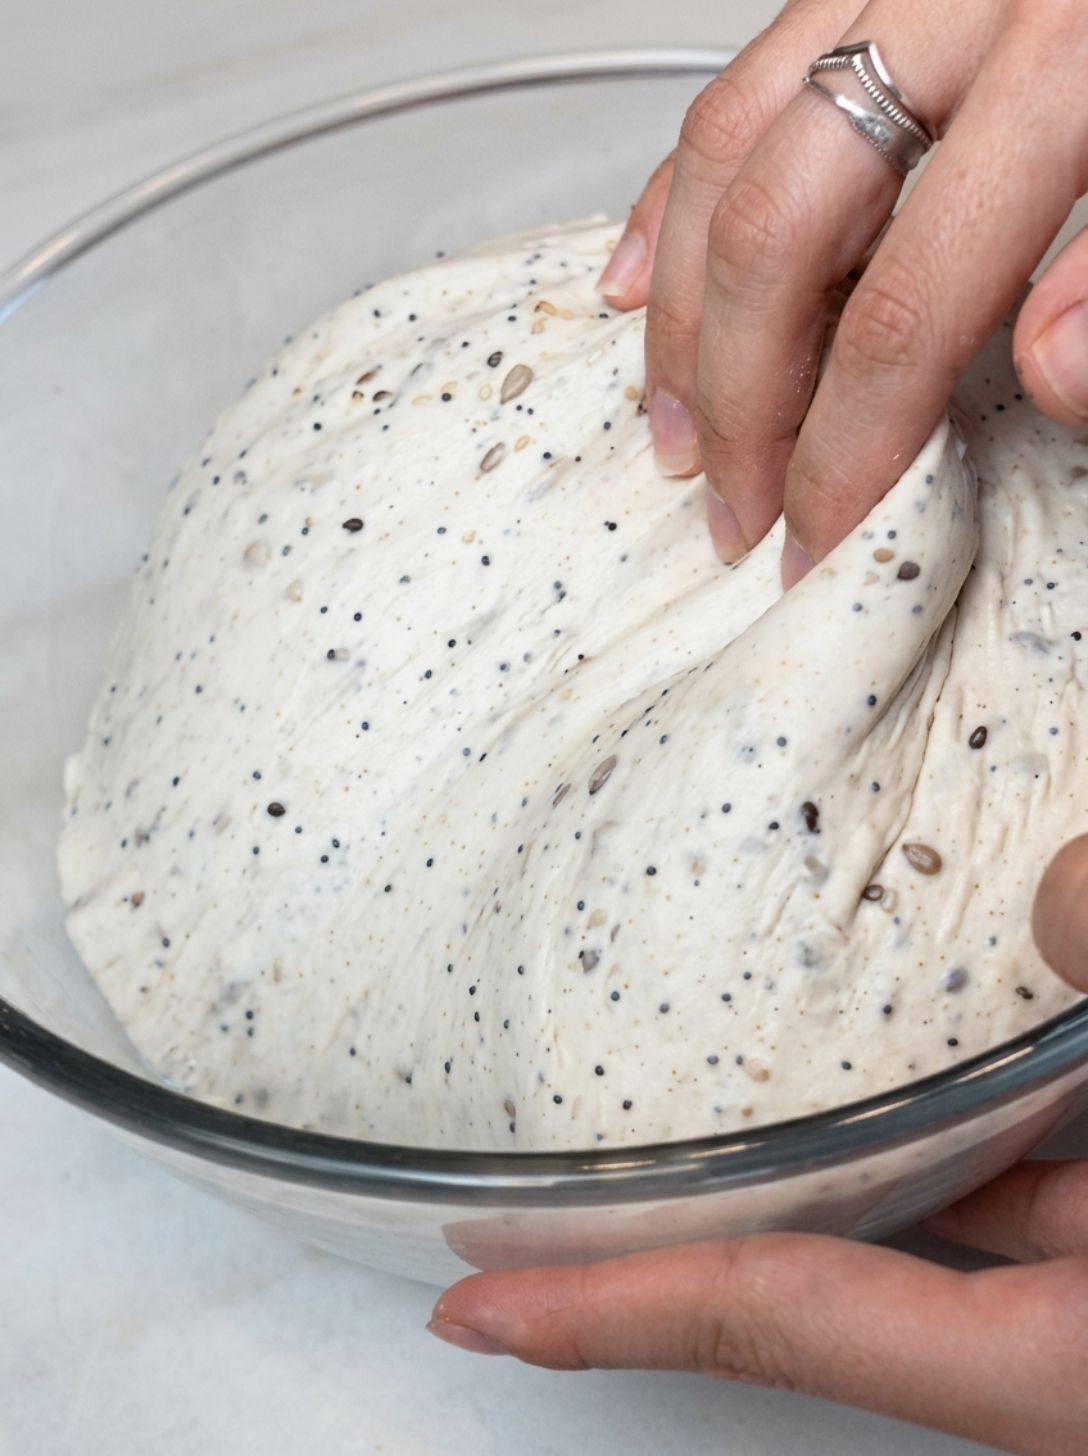
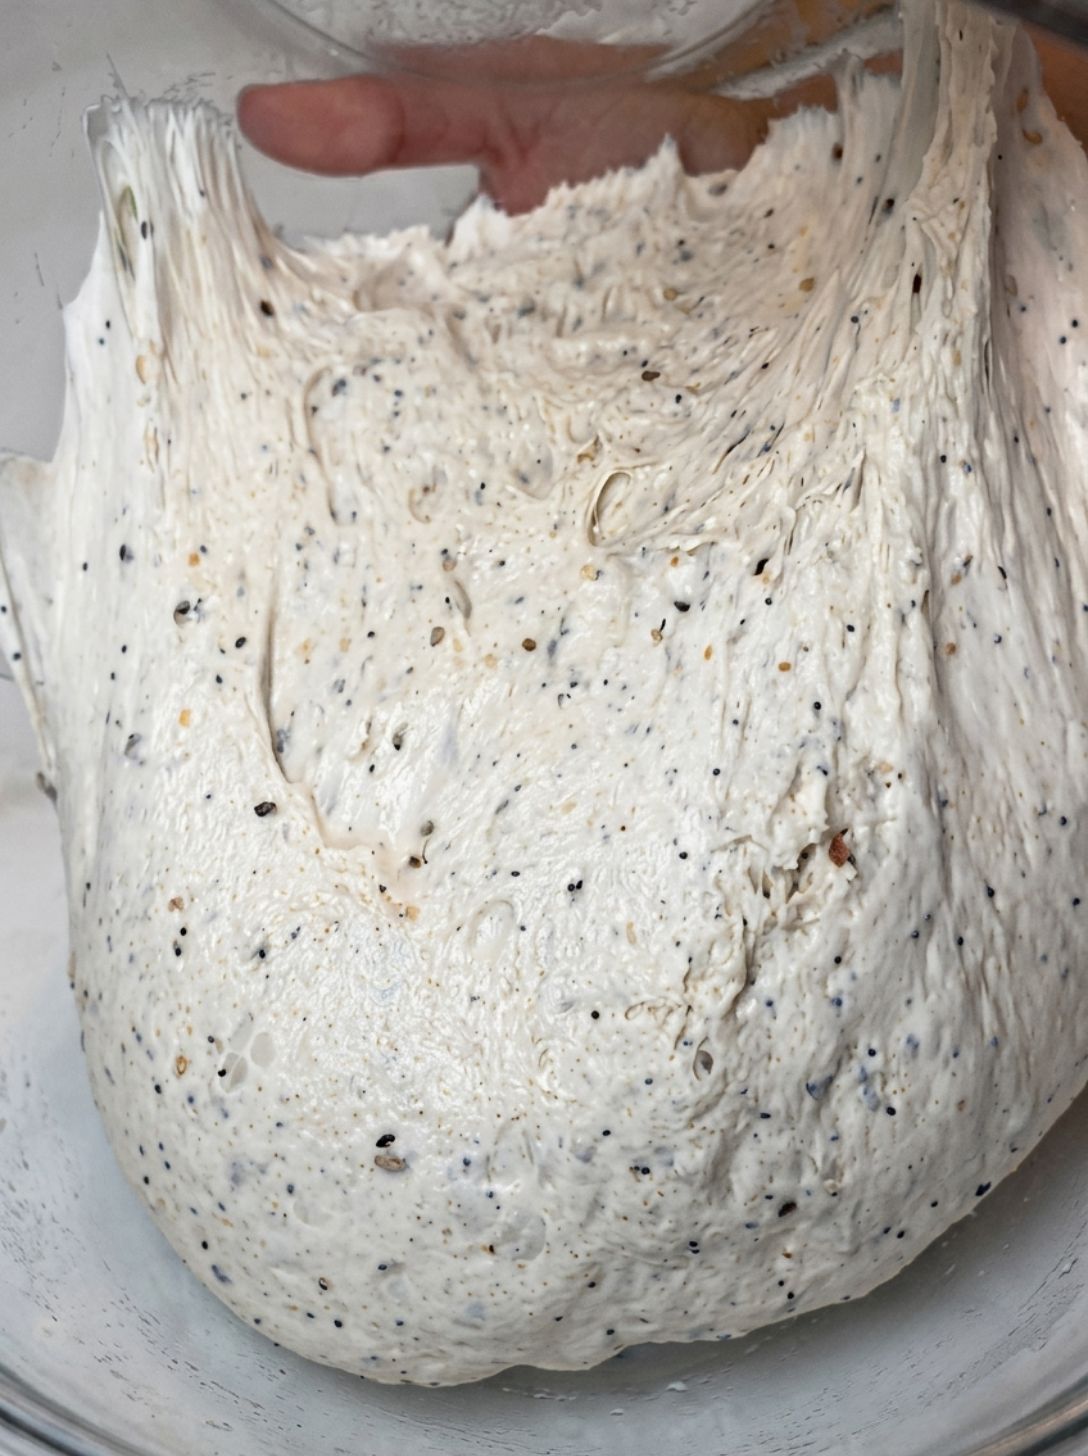
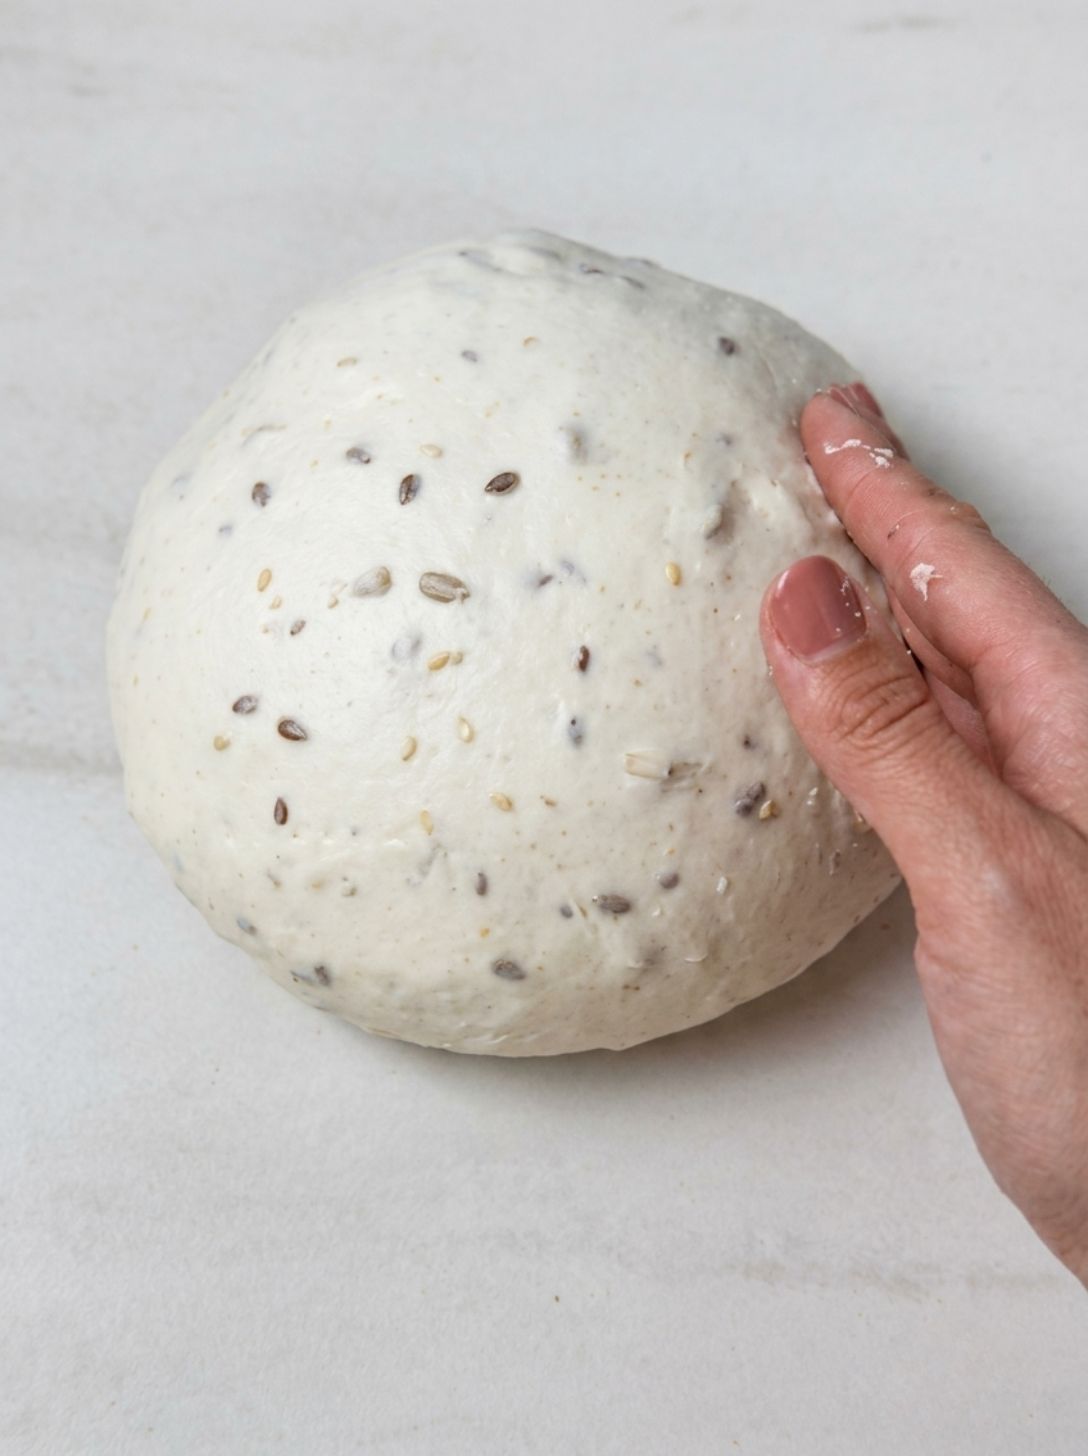
These are guides, not a checklist to tick off perfectly. Flour, hydration, and what you want out of the crumb all shift what "ready" looks like, some bakers push bulk further for a more open crumb, others stop earlier for more strength. Reading dough is a skill that gets easier with every loaf.
If you want to go deeper on the science here, Maurizio Leo's guide to bulk fermentation at The Perfect Loaf is one I still go back to. His book was one of my first real reads on this whole process, and it's still the one I hand to people who want the deeper mechanics.
If your dough feels like it's fighting you
If it keeps snapping back, let it rest a minute, the gluten just needs to relax. Wet hands and a few gentle slap-and-folds help build strength without extra flour. Flour, timing, and hydration all play a part. If your dough feels off, it's usually just slightly out of balance, and that's fixable with patience.
Cold Proof: Why the Fridge Matters
Cold proofing means moving your shaped dough into the fridge instead of the counter. The cold slows fermentation way down without stopping it, giving the dough time to build flavor and that signature tang without overproofing.
It also firms the dough up, making it easier to handle and score straight out of the fridge. My default is overnight unless a recipe calls for otherwise, though I once pushed it to 36 hours by accident on a tomato and herb loaf and got some of the best flavor I've gotten from that dough.
Cold proofing isn't required for every bake. My Plain Sourdough Loaf walks through the full process with an overnight proof, but a same-day loaf skips it entirely and goes straight from shaping to the oven. It trades some tang for convenience, still good bread, just milder. Neither approach is more correct.
How a Few Degrees Changes Everything
Every timing I give in a recipe is only true for the kitchen it was made in. A few real numbers from my own bakes show just how much temperature moves the timeline, not a formula to copy, more a sense of scale.
Temperature at a glance
- A dough sitting around 20°C took close to 8 hours to finish bulk fermentation on my same-day sandwich loaf. A warmer kitchen would move through that a lot faster.
- On a 75% hydration plain loaf, hitting a final dough temperature of 24°C got bulk fermentation done in about 4 hours.
- My sweet stiff starter, used for enriched doughs like brioche, takes about 6 hours to triple at around 26°C. It runs slower than a regular starter regardless of temperature, since less water means less microbial activity.
The takeaway isn't to chase these exact numbers. It's that the same style of dough can take twice as long in a cooler kitchen, and that's normal, not a sign something went wrong.
Trust the Dough, Not the Clock
Every timing on this site worked in my kitchen, on my flour, with my starter, at whatever temperature it happened to be that day. Yours will be different, and that's fine. Lean on the signs instead: how the dough feels, how much it's grown, the bubbles, the strength when you stretch it.
The goal was never to shorten or stretch fermentation to hit some ideal number. It's learning to recognize when your dough, in your kitchen, is ready, and that only comes from baking more loaves and paying attention. Every bake still teaches me something new, and it should for you too.
Back to topReady to put this into practice? Start with the loaf that walks through every stage in this guide.
Try the Plain Sourdough Loaf