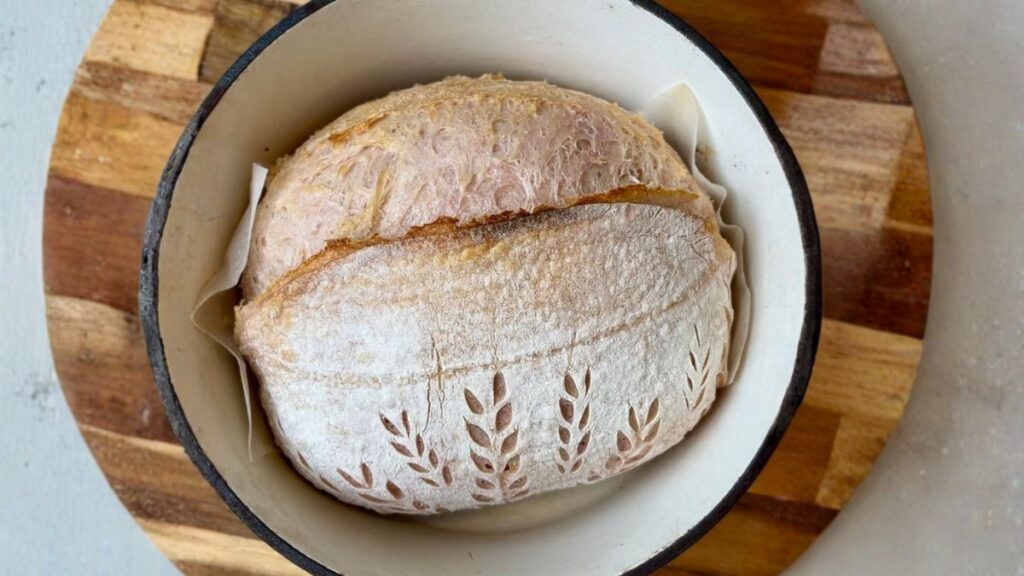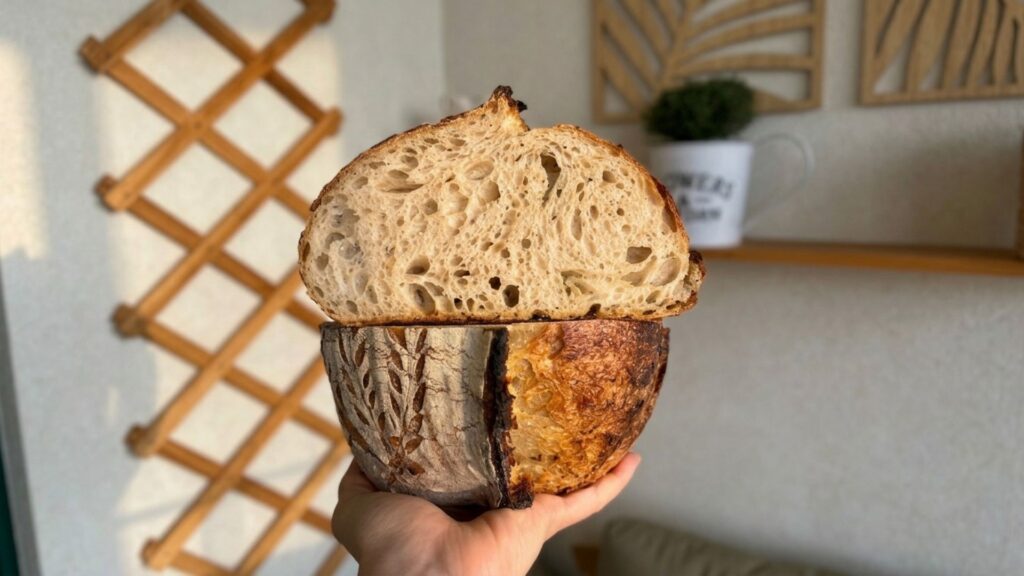
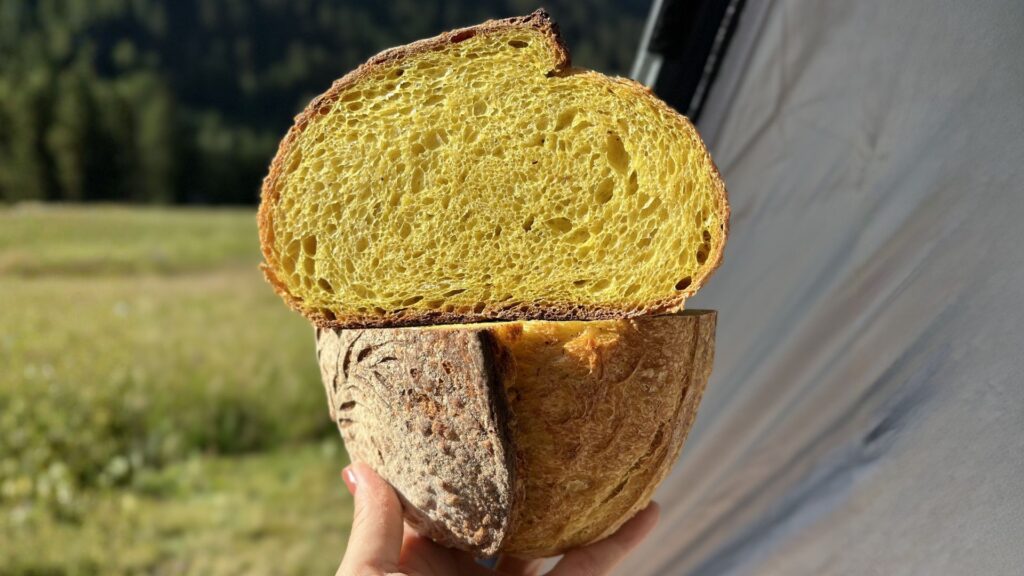
This one's a favorite for a reason. Turmeric brings this gentle, golden earthiness to the crumb, and black pepper wakes the whole thing up right at the end of the bite — it's a pairing that sounds like it shouldn't work for bread, and then very much does.
It's also one of the recipes people ask me about most, so let's get into exactly how I make it — dough, timing, and all.
The Dough
Ingredients
- 470g strong bread flour (14% protein)
- 340ml water
- 80g active starter
- 10g salt
- 6g turmeric powder
- 4g fresh ground black pepper
Nothing fancy in this list, and that's the point — the flavor does all the talking. A strong 14% protein flour gives the dough enough structure to carry the turmeric and pepper without going dense on you, and freshly ground pepper genuinely makes a difference here over the pre-ground stuff sitting in the back of your cupboard. It's sharper, and it wakes up as you chew instead of just sitting there.
Turmeric, Pepper & the Salt Trick
Turmeric and pepper go in right at the very start — mixed together with the starter, flour, and water in one go, no separate add-in step later. Simple as that.
The salt is the one that waits. I hold it back and let the dough rest for about 30 minutes first — a quick fermentolyse — before mixing it in. Salt slows down fermentation, so delaying it like this gives the dough a bit of a head start before things settle into their normal pace.
🧂 Why bother delaying the salt?
It's a small move, but it adds up. Mixing flour, water, and starter first lets gluten start developing and fermentation get going right away, unslowed. Thirty minutes later, the salt comes in, and from there it's a normal ferment — just one that started a little quicker than it otherwise would have.
Bulk Fermentation
Bulk fermentation is probably the stage that causes the most second-guessing out of the whole process, especially when you're just starting out — I know it did for me. I'm not going to hand you a "ferment for X hours" number, because it depends on your flour, your kitchen, and honestly your mood some days. What I actually watch for is this:
🔍 What "ready" looks and feels like
- It shouldn't cling to your fingers the way it did at the start (this varies with your flour and hydration).
- The surface looks domed, with visible bubbles, and it's got a slight jiggle to it.
- As you loosen the edges, the dough pulls away cleanly instead of sticking all around the bowl.
- It comes out of the bowl with ease, without leaving big chunks behind.
- After a gentle preshape, it can hold a firm, taut shape instead of spreading out like a pancake.
Think of these as a guide, not a checklist you need to tick off perfectly every time. Some doughs stay a little tackier than others and still turn into beautiful loaves — there's more than just one right way to do this. Some bakers push bulk fermentation further for a more open, dramatic crumb; others stop it a bit earlier for more strength. All of it is valid.
Temperature plays a huge role, too. A warm kitchen can send your dough into overdrive fast, while a cooler day might have you waiting a lot longer — which is exactly why I don't ferment for a set number of hours anymore. I let the dough tell me when it's ready. The good news: the more loaves you bake, the easier this gets to read.
Shape & Cold Proof
Once bulk fermentation is done, give the dough a gentle preshape and let it rest on the counter for 20–30 minutes before the final shape. Shape it into a tight round or oval, settle it into a floured banneton, cover it, and into the fridge it goes — overnight. Cold proofing overnight is my go-to move here, both for flavor and for making bread baking actually fit into a real schedule.
Step-by-Step
- Mix. Combine the flour, water, starter, turmeric, and black pepper. Hold back the salt. Let rest 30 minutes (fermentolyse).
- Add the salt. Mix it in thoroughly until fully incorporated.
- Bulk ferment. Let it rise at room temperature until it passes the visual checks above — domed, jiggly, pulling cleanly from the bowl (roughly 4–10 hours depending on your kitchen).
- Preshape. Gently preshape and let it bench rest 20–30 minutes.
- Final shape. Shape into a round or oval and place seam-side up in a floured banneton.
- Cold proof. Cover and refrigerate overnight.
- Preheat. Heat the oven to 235°C (455°F) with the Dutch oven inside, for 30–45 minutes.
- Score & bake covered. Turn the dough out, score, transfer to the hot Dutch oven, and bake covered for 25 minutes.
- Bake uncovered. Remove the lid, drop the oven to 220°C (430°F), and bake another 25 minutes until deep golden brown.
- Cool. Rest on a wire rack for at least 30 minutes before slicing — I know it's tempting not to.
Baking It Off
The lid-on, lid-off split does a lot of the work here. Baking covered for the first 25 minutes traps steam around the loaf, which is what gives it room to spring up and open along the score before the crust sets. Taking the lid off for the back half lets that crust actually color — and with the turmeric in the dough, you get this deep, warm golden crust that looks even more dramatic than it does on a plain loaf.
🔥 Don't skip the preheat
Give the Dutch oven the full 30–45 minutes to heat through, not just the oven air around it. A properly hot pot is most of what gets you that initial oven spring — and it's the part that's easiest to rush when you're hungry and the dough's ready.
Cut into it and the crumb has this soft golden tint running through it, with little flecks of black pepper scattered around — subtle, not overpowering, until that last bit of pepper catches you a few chews in. That's the whole point of this loaf.
↑ Back to topTry it, and tell me how it goes — good or ugly, I want to see it.
See More Recipes