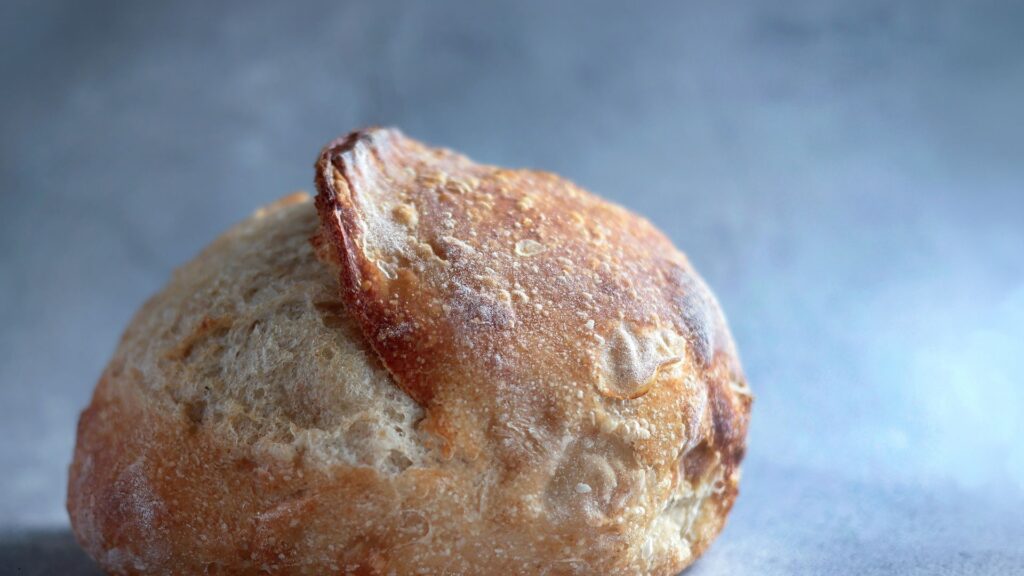
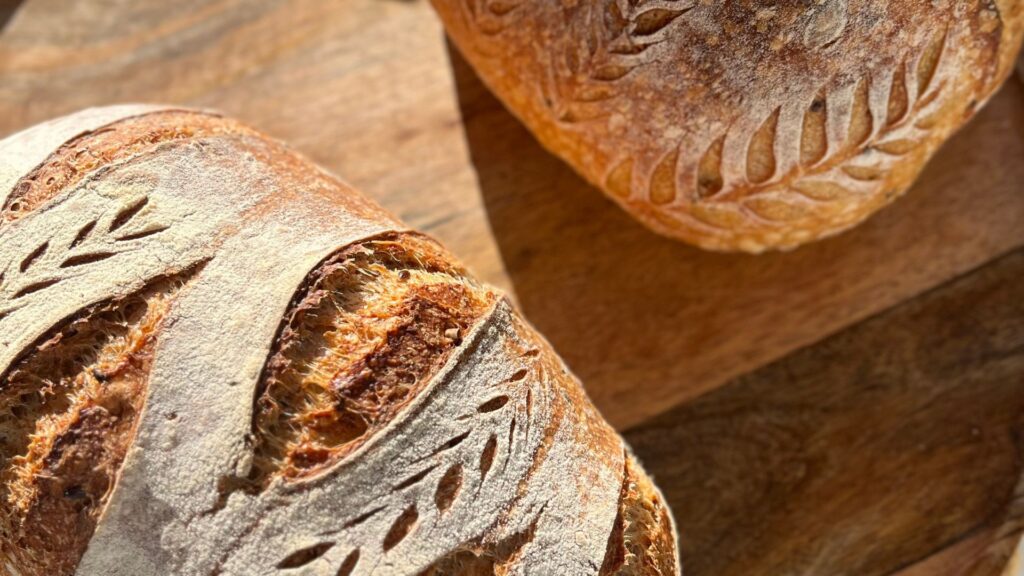
If there's one sourdough scoring pattern people screenshot and ask me about more than any other, it's this one. It looks fussy, like it needs a steady hand and years of practice. It really doesn't.
Once you've got a clean, functional score underneath it, the wheat-stalk pattern is one extra pass with the blade. That's it. I'll walk you through both parts here: the cut that actually lets your loaf rise, and the decorative pass that turns it into something that looks like it came from a bakery window.
This post contains an affiliate link. If you buy through it, I may earn a small commission at no extra cost to you.
Where Real Sourdough Scoring Starts
Before any wheat pattern goes on, you need a real cut underneath it doing the structural work. I hold my blade at an angle, almost flat against the dough, instead of straight down. That angle creates a thin flap instead of just splitting the loaf open, and oven heat is what pushes that flap up into an ear. I usually score slightly off-center too, it keeps tension on one side while the other side gets to open up more dramatically.
I use a sharp blade for this, and I swap it out often (see the one I use here). A dull blade drags through the dough instead of slicing clean, and that alone can be the difference between a crisp bloom and a sad little split.
No cut, however pretty, saves a loaf that didn't ferment or proof well. Scoring is the final step, not a rescue mission. If your bulk fermentation or cold proof was off, focus on that first. The prettiest wheat stalk in the world won't fix underproofed dough.
Adding the Stalk
This is the part people ask about.
- Start with your expansion score, done and settled.
- Go back in with the same blade, this time holding it closer to straight up and down instead of the shallow angle from the first cut.
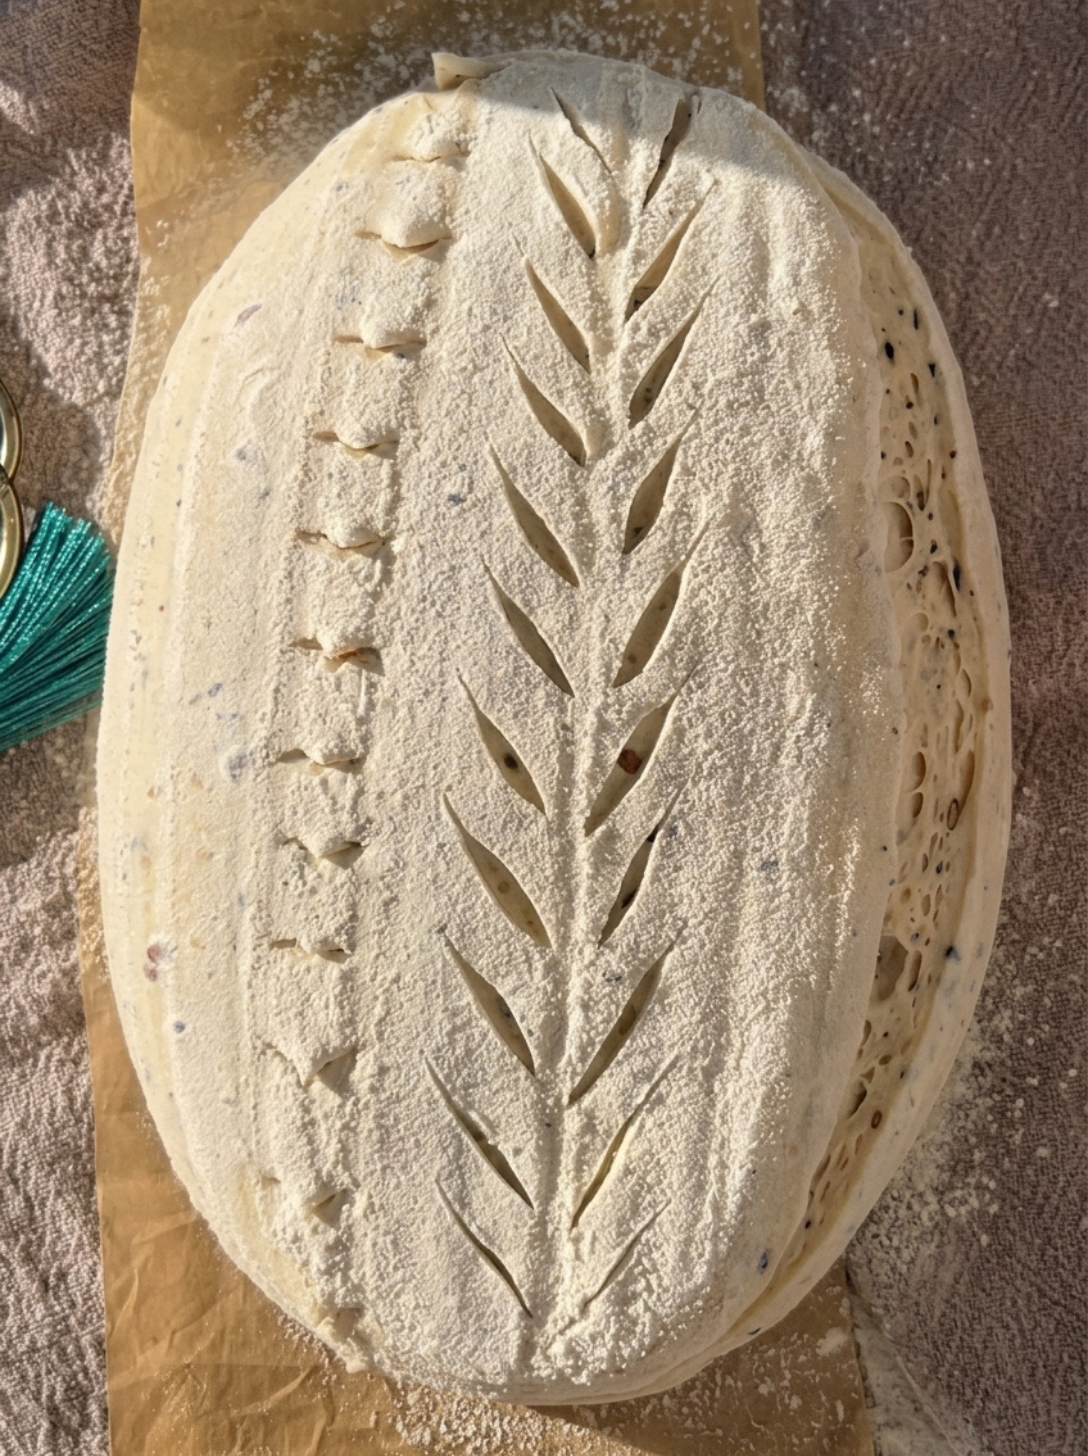
- Working off that center line, add short, angled cuts branching out on each side. Just the tip of the blade, barely skimming the surface.
- Aim for 3 to 5 pairs of these on each side, spaced roughly a thumb's width apart. More than that and the pattern gets busy. Fewer and it barely reads once it puffs and bakes.
- Keep every one of these cuts shallow. They're not doing any structural work, your first score already handled that.
This second pass is decorative, not structural. Your loaf will bloom exactly the same with or without it, you're just choosing between a clean single line or the stalk detail. There's no wrong answer here, plenty of my loaves get nothing more than a plain slash and they're still good bread.
Best Canvas For This Pattern
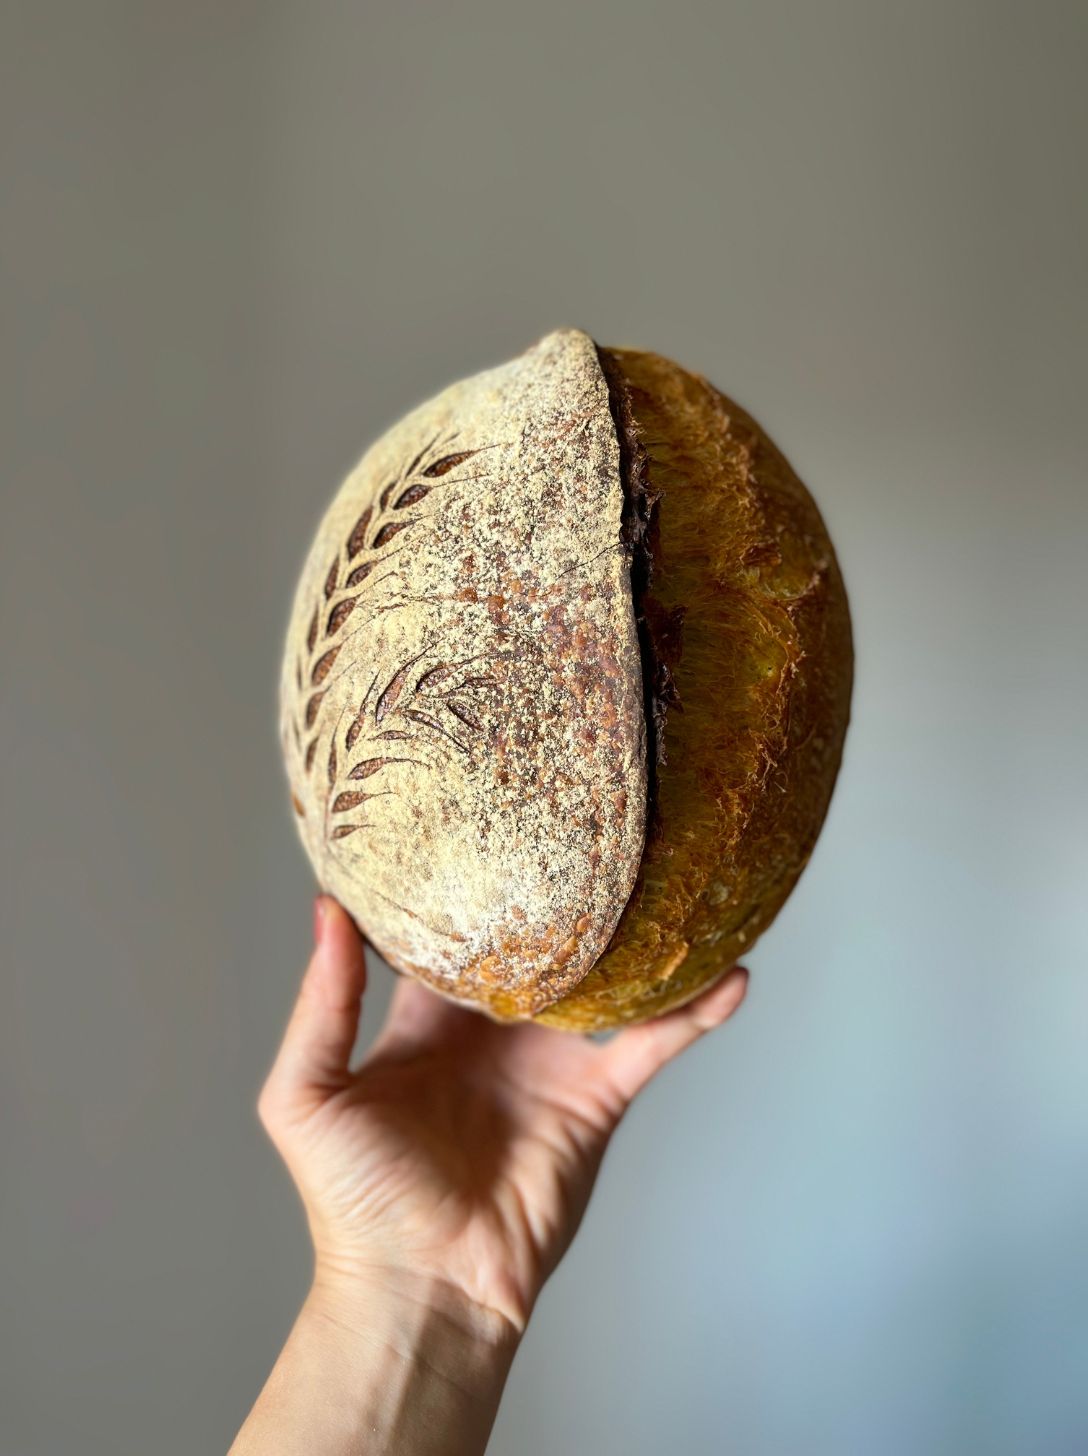
I keep coming back to my purple sweet potato and poppy seed loaf for this one. The color contrast means every vein actually reads once it's baked, instead of blending into the crust. If you're trying this for the first time, a loaf with some color built in (turmeric, beet, spelt, anything with a bit of tint) makes it much easier to see whether your cuts are working.
You don't need a batard for this. I've done it on round boules just as often, the stalks just curve slightly with the shape of the loaf instead of running in a straight line. Either shape works.
Try it on your next bake, even just on one side if you want to compare it against a plain score. Save this one for a loaf you're already excited about, it's a nice way to make a good bake feel a little more special.
Want more sourdough scoring ideas?
Browse more scoring techniques