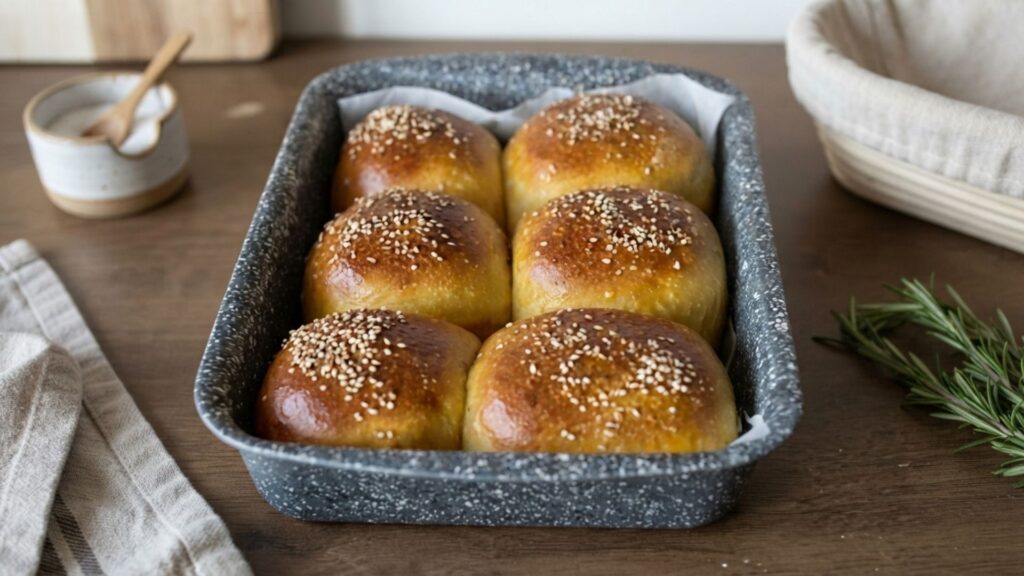
I roast a sweet potato for dinner maybe once a week, and there's always a little too much left over. One evening I mashed the extra into a bowl of starter, milk, and honey just to see what would happen, and these buns are what happened. Soft, faintly golden, a little sweet, with a sesame crust that gives every bite some crunch.
They're a hybrid dough, sourdough starter for flavor and a small amount of instant yeast for a rise you can actually plan your day around. If you don't keep a starter, there's a workaround below too.
Why sweet potato works so well here
Roasted sweet potato does two things in an enriched dough: it adds natural sweetness so you can go lighter on sugar, and it keeps the crumb soft for days longer than a plain dough would stay soft. Roast it instead of boiling it. Boiling adds water you don't want and waters down the flavor along with it.
The ingredients
You'll need
- 65g stiff sourdough starter, fed 1:2:4 (starter:water:flour)
- 120g oven-roasted sweet potato, mashed and cooled
- 230g bread flour, plus a little extra as needed
- 50-55ml milk (plant-based works fine)
- ~30ml water, plus a small splash when adding the salt
- 1 egg
- 28ml olive oil
- 20g honey
- 5g salt
- 1g instant yeast
- Sesame seeds and flaky sea salt, for topping
- 1 egg, for egg wash
Roasting the sweet potato
Roast the sweet potato at 190C, non-ventilated, for about 35 minutes, until it gives easily when pressed. Let it cool completely before mashing it in, warm potato will start cooking your egg and yeast before you want it to.
Mixing and kneading
Everything wet goes in first: water, milk, starter, honey, oil, yeast, egg, and the mashed sweet potato. Stir until it's smooth and no streaks of potato are left, then add the flour and mix to a soft dough. If it's sticking to everything in sight, add a little more flour, a tablespoon at a time.
Let the dough rest 30 minutes before adding the salt with a small splash of water. This short rest lets the flour hydrate before you tighten things up with salt, so the gluten has an easier time developing once you start kneading in earnest.
Knead until the dough is smooth, soft, and elastic. By hand this takes patience, but you'll feel the moment it goes from shaggy to silky.
First proof
Let the dough proof until nearly doubled, about 3 hours with the oven light on. Sweet potato doughs can be a little slower to get going than a plain enriched dough, so don't rush it if it's taking its time.
Shaping the buns
- Deflate the dough gently and divide it into 6 equal pieces.
- Shape each piece into a tight ball, tucking the seams underneath.
- Arrange the balls in your baking dish or on a lined tray, leaving a little room to expand.
Second proof
Proof until the buns look noticeably puffy and jiggle slightly when you nudge the dish.
Baking and topping
- Brush the tops generously with egg wash.
- Sprinkle with sesame seeds and a pinch of flaky sea salt.
- Bake at 180C in a non-ventilated oven for 18-20 minutes, until deep golden brown.
- Let them cool at least 10 minutes before pulling one apart, the crumb is still setting while it's hot.
These are best the day they're baked, still a little warm, with butter melting into the crumb. If you have leftovers, a quick toast the next morning brings them right back.
↑ Back to topGot starter discard sitting in the fridge? This is exactly the kind of recipe it's for.
Browse more recipes